Are you looking for a way to create dynamic and interactive text inputs in your Laravel application? Look no further than Quill Rich Text Editor and Livewire!
In this tutorial, we'll show you how to set up Quill as a Livewire component, allowing you to easily create text editors that enable users to format their content with ease. We'll take you step-by-step through the process of integrating Quill with Livewire, and provide code snippets to make it easy to follow along.
🤔 What is a Rich Text Editor
A Rich Text Editor is a software tool that enables users to format and style text with various fonts, colors, sizes, and styles, such as bold, italic, and underline. It allows users to create visually rich documents without having to use HTML or other coding languages. Rich Text Editors are commonly used in web applications, content management systems, and word processors.
🆕 Create a new Laravel application
To create a new Laravel application, you can use the composer create-project command in your terminal, followed by the name of your project and the version of Laravel you want to install. For example:
composer create-project --prefer-dist laravel/laravel quillCongratulations, you've successfully created a new Laravel application named quill! If you're using Laravel Valet, you can now visit your site at http://quill.test to see the default Laravel welcome page.
Now that we've created our application, the next step is to install Laravel Livewire.
📦 Install Laravel Livewire
We can easily install Livewire using the composer like this:
composer require livewire/livewireAlright, now we have to replace our resources/views/welcome.blade.php with the following:
<!DOCTYPE html><html lang="{{ str_replace('_', '-', app()->getLocale()) }}"> <head> <meta charset="utf-8"> <meta name="viewport" content="width=device-width, initial-scale=1"> <title>Livewire Quill Editor</title> @livewireStyles </head> <body> <h1>Let's start!</h1> @livewireScripts </body></html>What we have done here is, we have added Livewire styles @livewireStyles and scripts @livewireScripts to our welcome page.
Let's start to build our Quill editor component.
💻 Creating a Livewire Component
To create our component we can run the following command:
php artisan make:livewire quillAfter running this command, Livewire will be created two files inside our application. First one is the component class at app/Http/Livewire/Quill.php and the other is the blade view at resources/views/livewire/quill.blade.php Let's move to the next step.
🗎 Including the Quill Editor
To add the Quill editor, Inside our resources/view/livewire/quill.blade.php file, we are going to add the following content:
<div> <!-- Include stylesheet --> <link href="https://cdn.quilljs.com/1.3.6/quill.snow.css" rel="stylesheet"> <!-- Create the editor container --> <div id="editor"></div> <!-- Include the Quill library --> <script src="https://cdn.quilljs.com/1.3.6/quill.js"></script> <!-- Initialize Quill editor --> <script> const quill = new Quill('#editor', { theme: 'snow' }); </script></div>Perfect! Let's add our Livewire component to the body of the welcome page at resources/views/welcome.blade.php
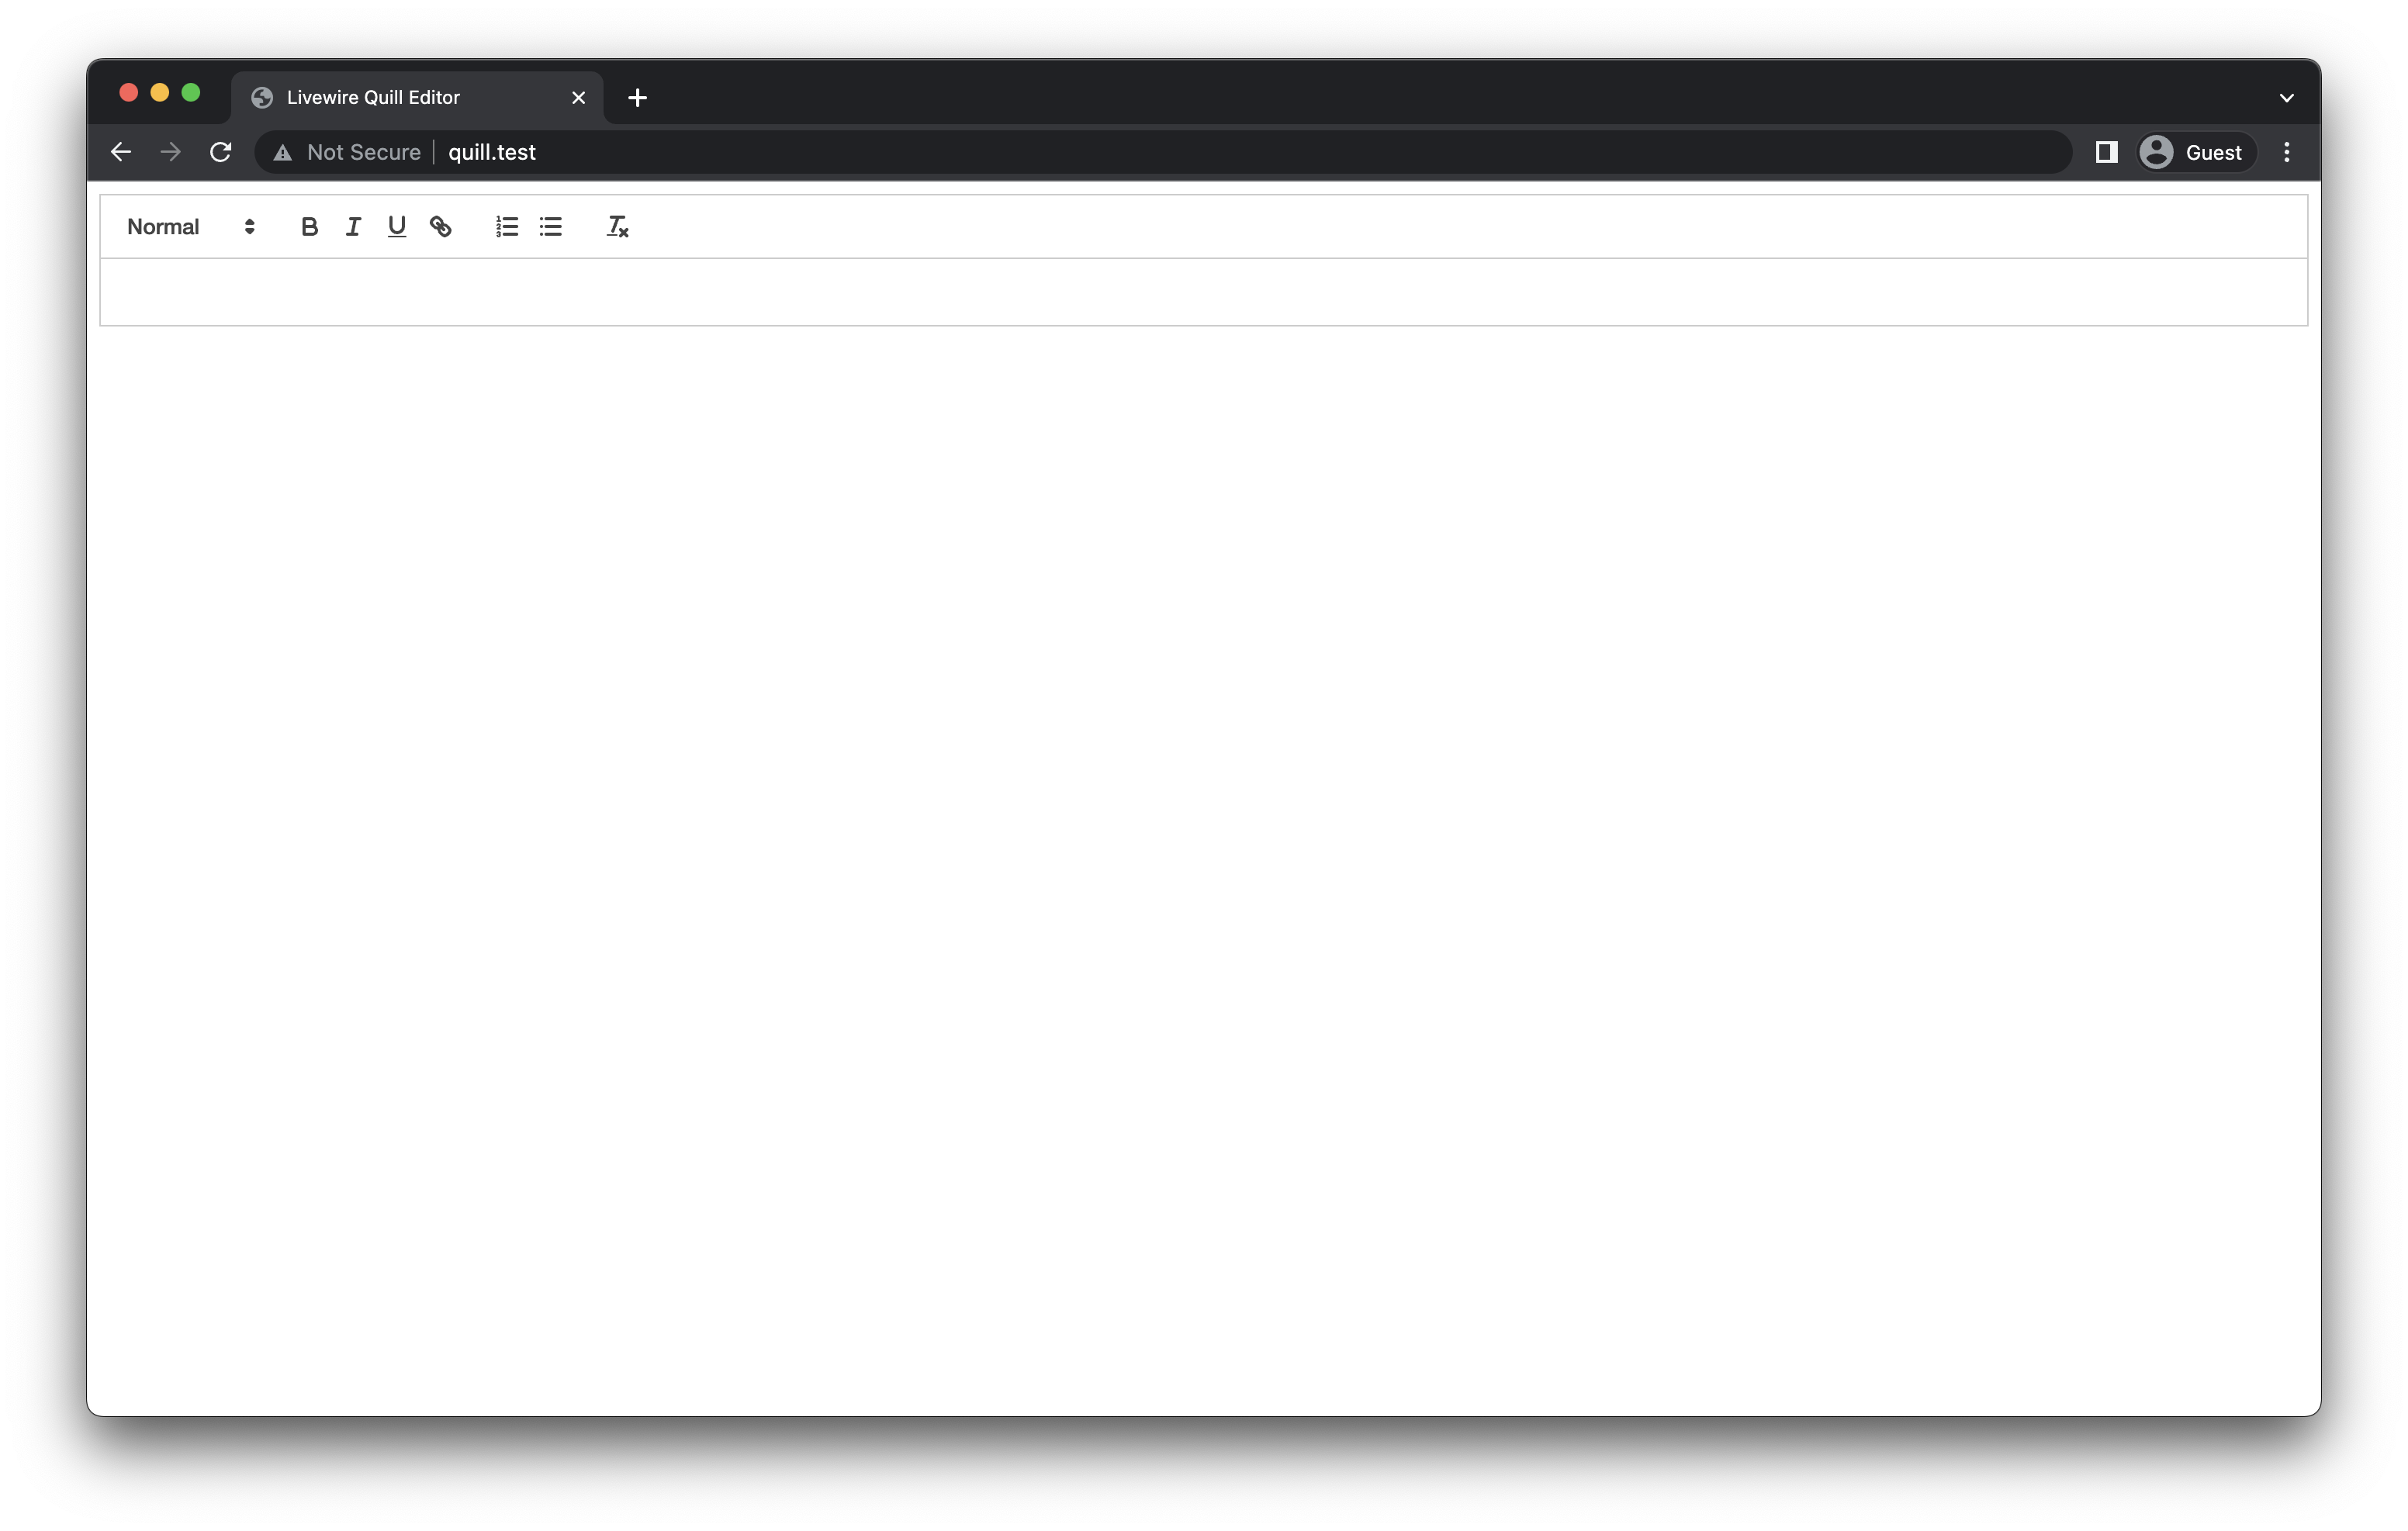
<body> @livewire('quill') @livewireScripts</body>Oke! Now I'm so excited to see our fresh Quill editor on our welcome page. So, I am going to browse http://quill.test/ again to see our changes.
Wow, It looks so cool 🤙
🤫 Make the Editor Unique
Inside our Livewire component which is located at app\Http\Livewire\Quill.php, we will add the following code:
namespace App\Http\Livewire; use Livewire\Component; class Quill extends Component{ public $value; public $quillId; public function mount($value = ''){ $this->value = $value; $this->quillId = 'quill-'.uniqid(); } public function render() { return view('livewire.quill'); }}The $quillId help us to create multiple editors on the same page. Therefore, let's do a small update on our component view at resources/view/livewire/quill.blade.php by copy pasting this code:
<div> <!-- Include stylesheet --> <link href="https://cdn.quilljs.com/1.3.6/quill.snow.css" rel="stylesheet"> <!-- Create the editor container --> <div id="{{ $quillId }}" wire:ignore></div> <!-- Include the Quill library --> <script src="https://cdn.quilljs.com/1.3.6/quill.js"></script> <!-- Initialize Quill editor --> <script> const quill = new Quill('#{{ $quillId }}', { theme: 'snow' }); </script></div>If you noticed, I have added wire:ignore in the editor container, it will stop re-rendering the component when we type on the editor.
And also, we have a option $value inside the mount() you can pass any value as you wish like this:
@livewire('quill', ['value' => 'Hello <strong>Buddy!</strong>'])💾 Data Binding to the Livewire Component
Usually, we use data binding wire:model to populate our properties. but here, It's not gonna work. Therefore we have to look for an another way.
Let's do the data binding. We can easily do that by adding a quill event listener. to do that, just add the following quill event listener to our quill component's view file at resources/view/livewire/quill.blade.php
<!-- Initialize Quill editor --><script> const quill = new Quill('#{{ $quillId }}', { theme: 'snow' }); quill.on('text-change', function () { let value = document.getElementsByClassName('ql-editor')[0].innerHTML; @this.set('value', value) })</script>Let's confirm whether our $value is updating whenever we type on the editor. To do that, let's add the following method to the component's class:
public function updatedValue($value){ dd($value);}And here we go, It's working!
We're not done yet! Calm down, this will be over soon. 😄
🧪 Using the Quill Component
The easiest example that I can show you is create a new Post component.
php artisan make:livewire postWe have another two files that were created in our project. It is, the Post component class at app/Http/Livewire/Post.php and our Post component view at resources/views/livewire/post.blade.php
Let's go ahead and edit the component class by adding the following code:
namespace App\Http\Livewire; use Livewire\Component;use App\Http\Livewire\Quill; class Post extends Component{ public $title; public $body; public $listeners = [ Quill::EVENT_VALUE_UPDATED ]; public function quill_value_updated($value){ $this->body = $value; } public function save(){ dd([ 'title' => $this->title, 'body' => $this->body ]); } public function render() { return view('livewire.post'); }}And add the following to your post view:
<div> <div> <label for="title" style="display:block">Title</label> <input type="text" style="border:1px solid #ccc" name="title" wire:model.lazy="title"> </div> <div> <label for="body">Body</label> <livewire:quill :value="$body"> </div> <div> <button wire:click="save">Save</button> </div></div>If you noticed, we added an event. so that way we can emit to our Post component from the Quill component whenever the $value has changed.
To complete it, let's update our Quill component like this:
namespace App\Http\Livewire; use Livewire\Component; class Quill extends Component{ const EVENT_VALUE_UPDATED = 'quill_value_updated'; public $value; public $quillId; public function mount($value = ''){ $this->value = $value; $this->quillId = 'quill-'.uniqid(); } public function updatedValue($value) { $this->emit(self::EVENT_VALUE_UPDATED, $this->value); } public function render() { return view('livewire.quill'); }}Now we can replace our welcome page livewire component with the new Post component. It can be done by following code:
<body> @livewire('post') @livewireScripts</body>If you visit the site again, you will see the welcome page like this:
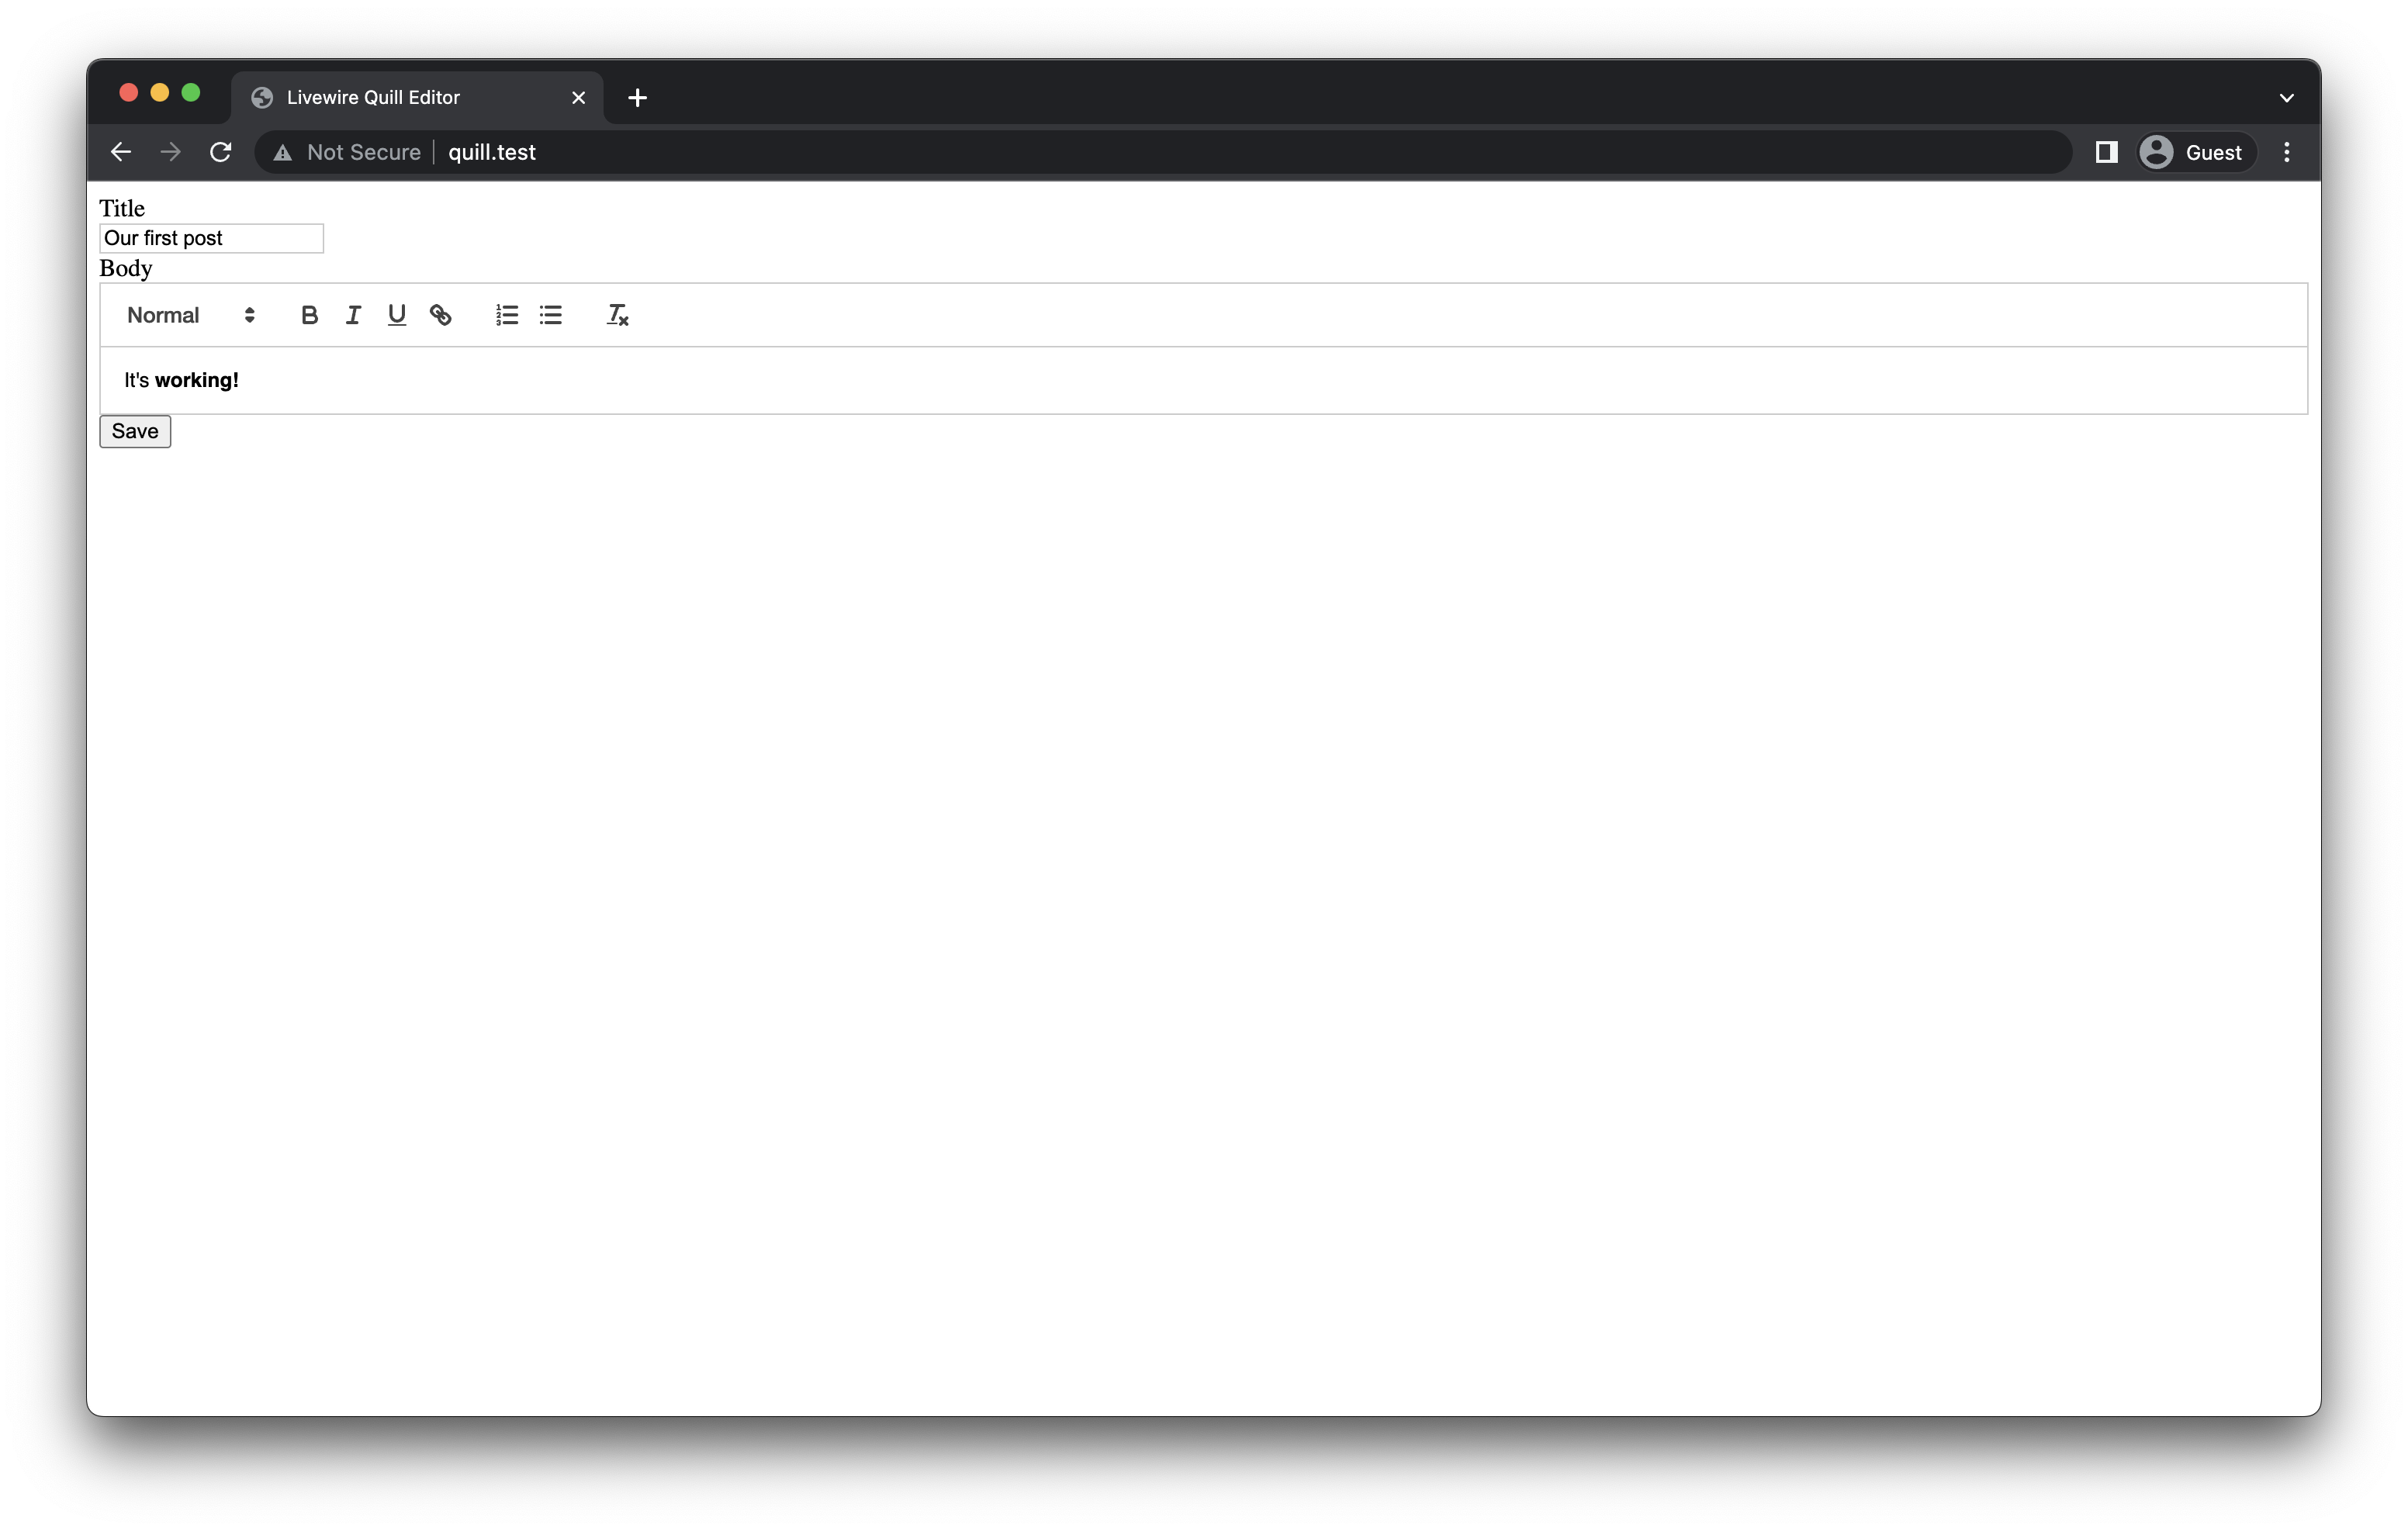
I have filled the form already, let's click on the save button. then we can see this output!
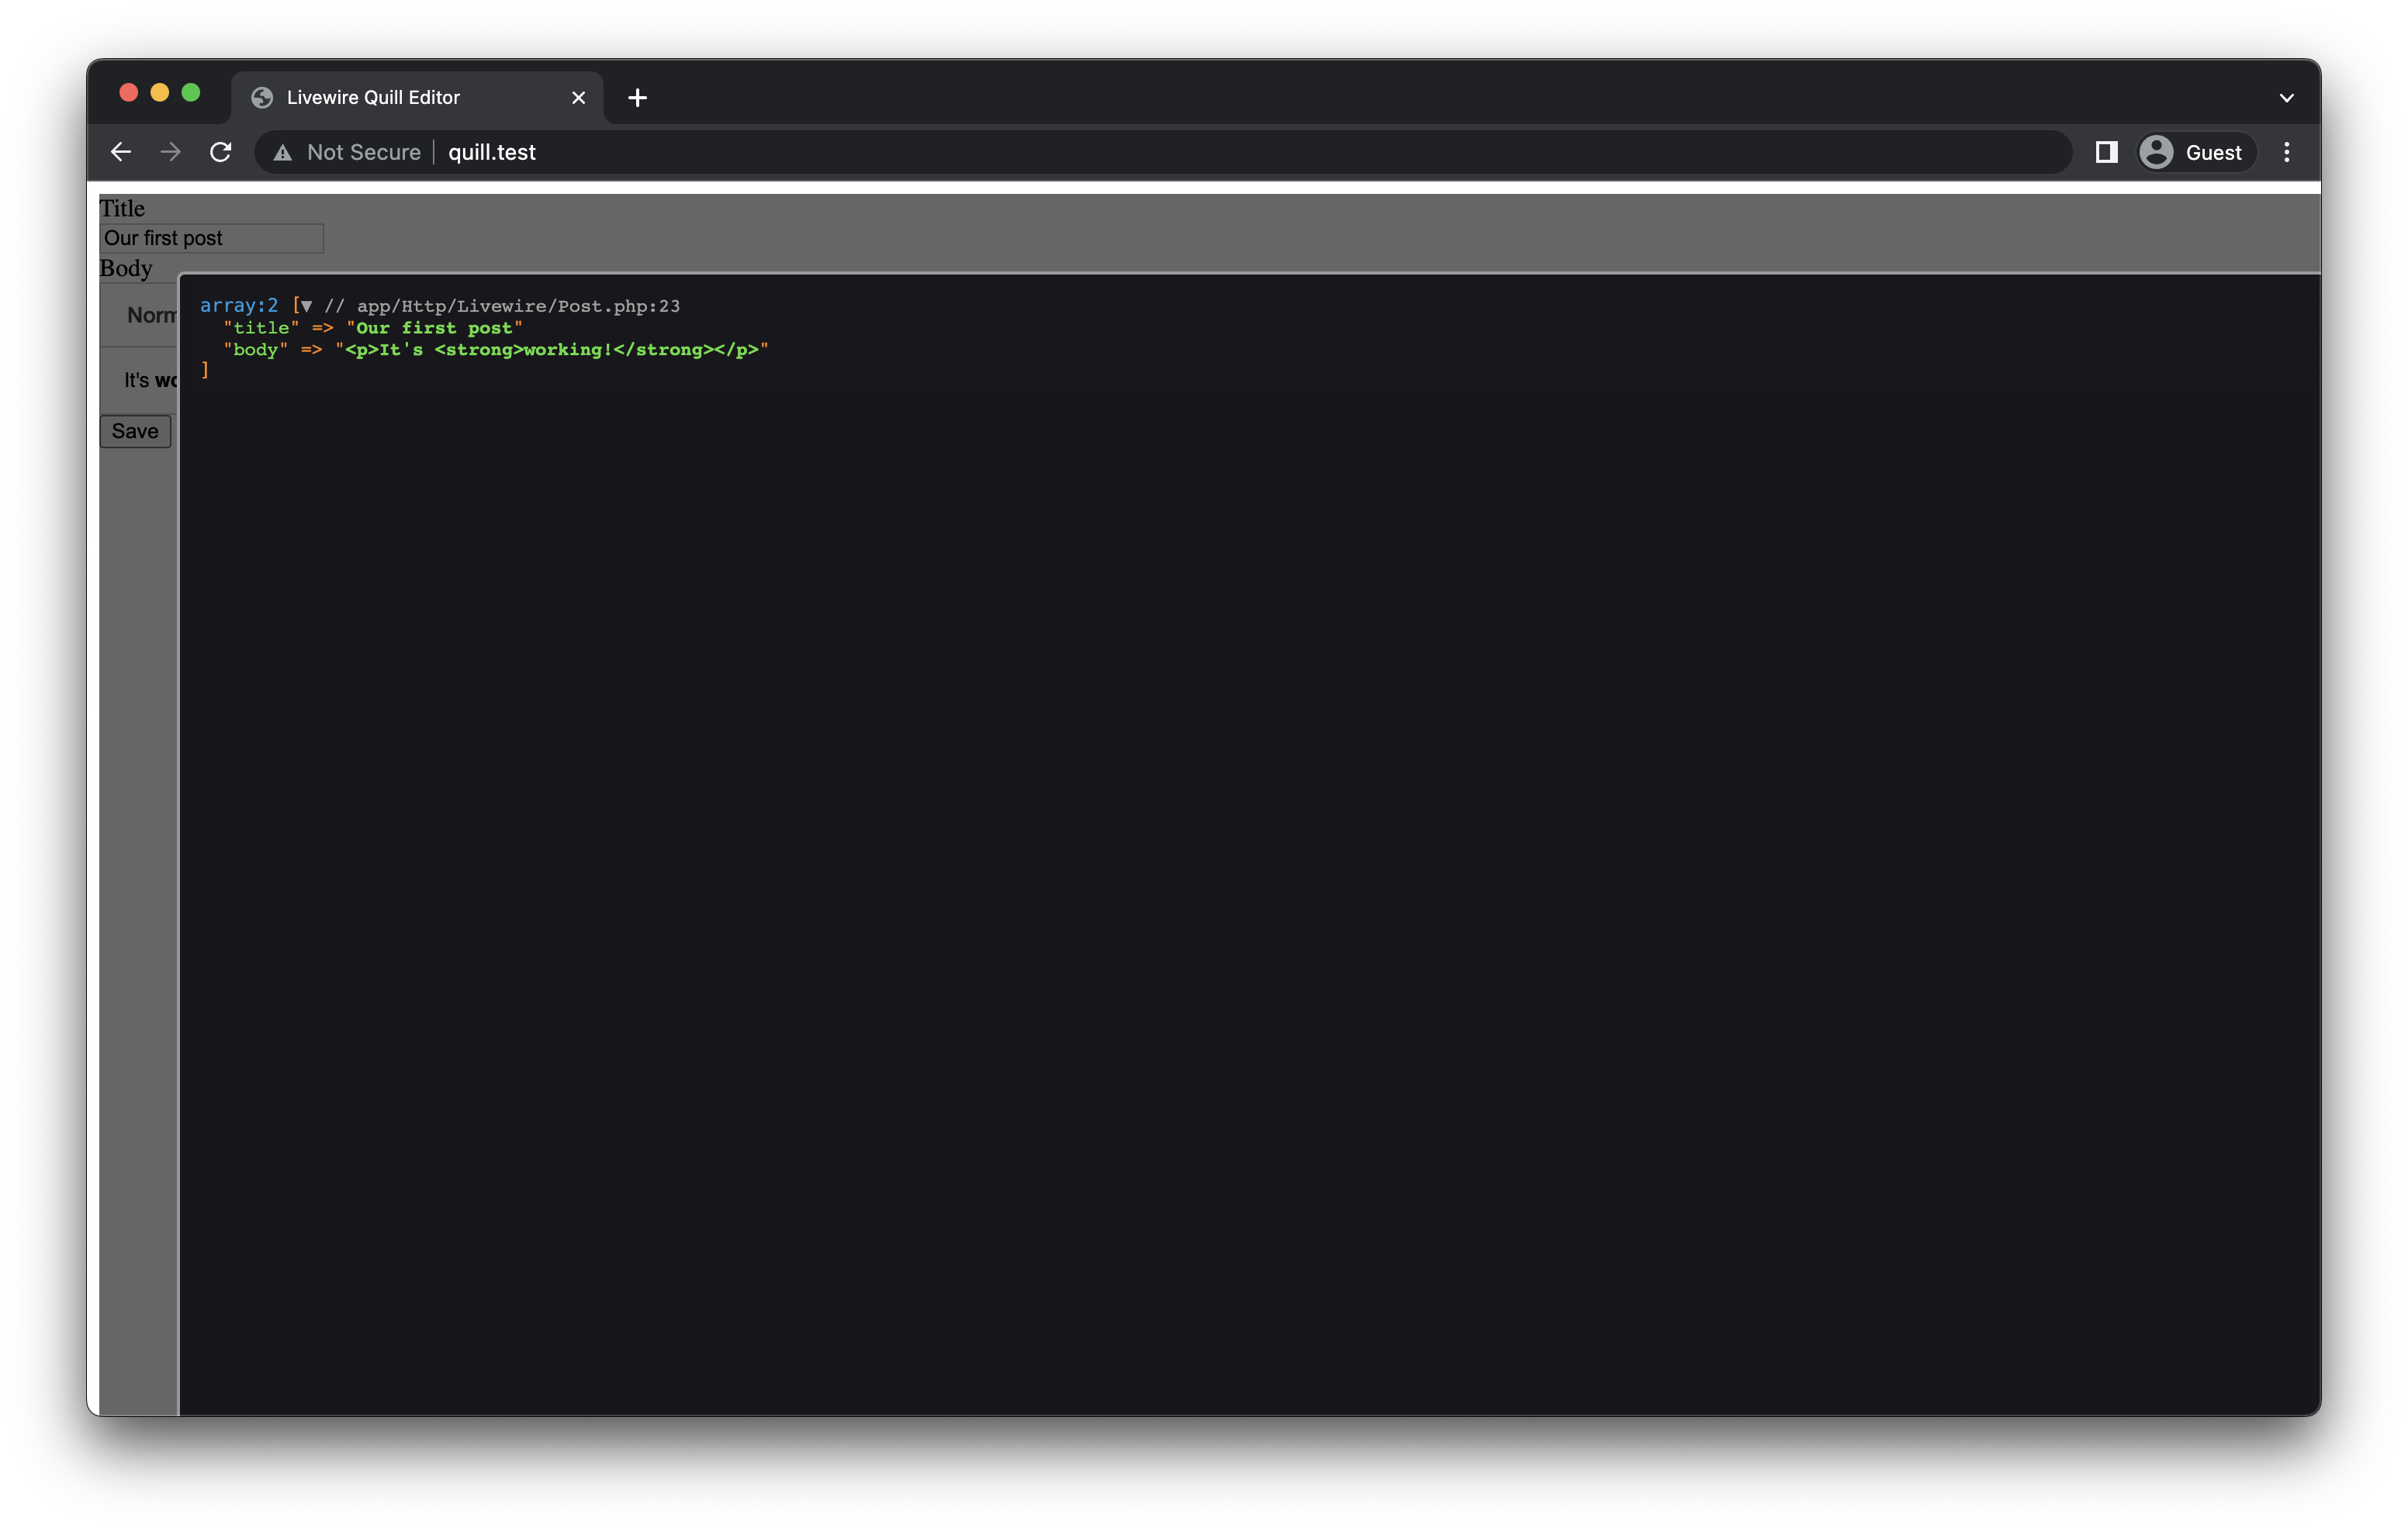
Congratulations! Now we are done. You can edit the save action at app/Http/Livewire/Post.php as you wish, because now you have everything under control.
public function save(){ // TODO}GitHub Repo URL: https://github.com/dasundev/livewire-quill-editor-tutorial
Happy coding! 😇